Spooky Fun Eyeball Cake Pops Recipe for Halloween
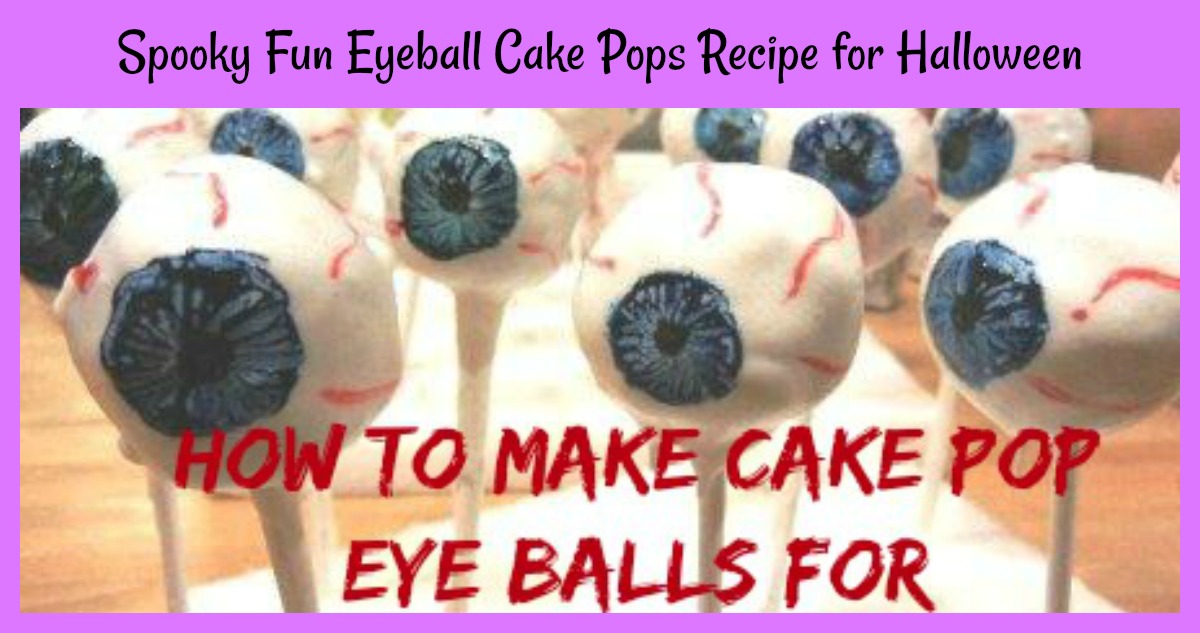
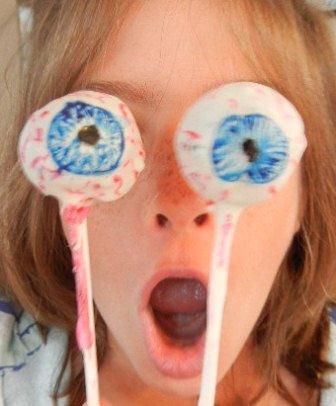
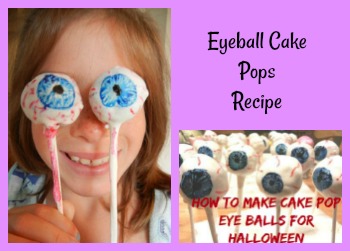
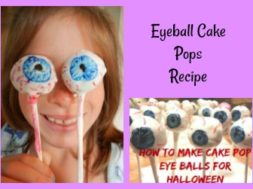
I LOVE Halloween. It’s a great holiday… no presents to deal with, free candy, and I get to play with food! The kids do get a little nervous around here… some things come out looking a little spooky… Like this Fun EyeBall Cake Pops RECIPE!
But just think of the fun you can have!
Muuuhhhhhahahahahahaha
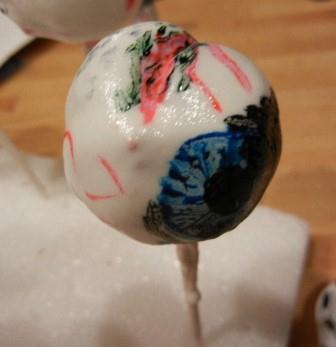
When was the last time someone offered you an eyeball as a treat? These Cake Pop Eye Balls for Halloween are red velvet cake balls covered in white chocolate, then painted to look like eyes. You can paint the outside to be as gruesome as you can stand. Bite into the hard outer shell, and you get the sweet, chocolatey, red velvet cake….yum…. and ICK!
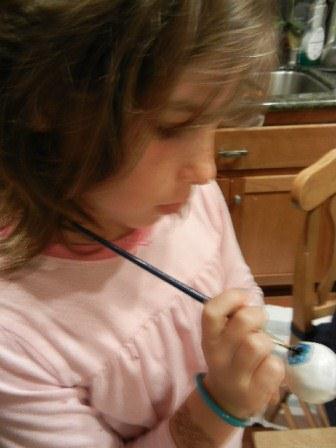
These cake balls are easy to make, and fun to decorate. I got all the kids involved.
And they are perfect for Halloween Parties, or whenever you feel like eating Eye Balls.
Eyeball Cake Pops Recipe
Spooky Fun Eyeball Cake Pops Recipe for Halloween
Ingredients
- Red Velvet Cake baked- just a box mix is fine
- Can of White Frosting
- White Candy Melts
- Lollipop Sticks
- Paste Food Coloring
- Paint Brushes
- Foam to Rest Pops
Instructions
- The first thing you need is a baked Red Velvet Cake. For Cake Balls I use a box mix.... it's just easier. Bake it according to the box directions and let it cool. If you plan to make the cake balls immediately, trim off any hard or rough corners. If you bake the cake the day before you plan to make the balls (and I do recommend this) store it in an airtight container. The edges will soften up, and you won't have waste.
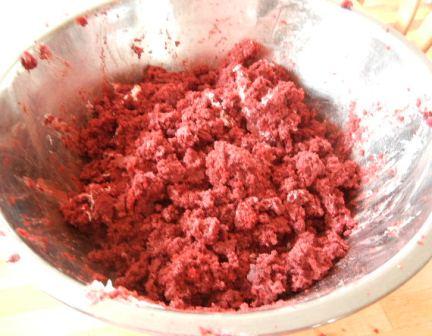
- Crumble the Cake into a large mixing bowl, really work it with your hands and turn that cake into crumbs. Now... roll up your sleeves because it's going to get messy... Add in about 3/4 of the container of frosting... (I like white, but chocolate will work too). With your hands, mix and moosh the whole thing together until you have something resembling a goopy mess.
- Scrape as much as you can off of your hands. Now go wash your hands.
- Get out a cookie sheet or baking sheet, and cover it with foil or parchment paper.
- Put a little bit of oil or non-stick spray on your hands (you don't have to, but it's a bit less messy if you do)
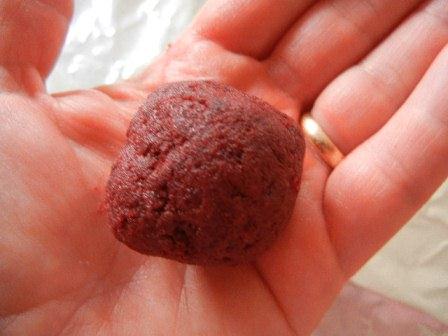
- Using a small cookie scoop, scoop up a tight ball of the Goop into your hand. Roll the ball as tight and smooth as you can. Set the ball on the backing sheet.... Repeat until the goop is all balls.
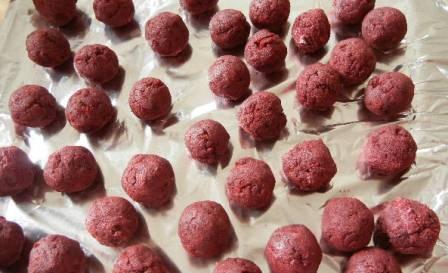
- Put the sheet of balls into the refrigerator for a few hours (or the freezer for 30 minutes if you are in a hurry)
- When you are ready to go.... prepare your workspace
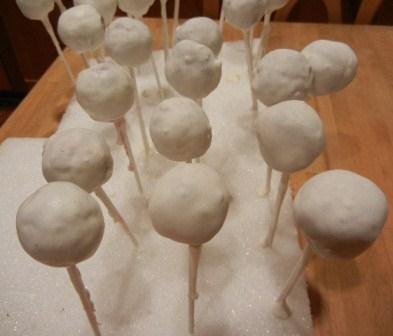
- Set out the foam to receive the pops (I like to jam the pop sticks into a foam square)
- Take the balls from the fridge
- Melt the Vanilla Candy Melts in the microwave... stir to make sure it's as smooth as possible
- Dip a lollipop stick into the melted candy about an inch.... let it set a second
- Stick on a Cake Ball... and dip it in to the candy.
- Let the excess drip off
- Stick the lollipop stick into the foam.
- Repeat until all the balls are dipped
- Now a disclaimer.... sometimes, something goes wrong... and a ball falls off the stick. I'm sure the cake ball experts would know exactly what I did wrong... but.... I haven't the first freaking clue. DON"T PANIC! Just scoop the ball out with a fork... and set it on a plate (a wax paper covered plate is best, but in an emergency, you just want to get it out and on to something.) These little goofs are good eating. Feed them to anyone who wanders into the kitchen looking for a taste.
- Put the foam boards with all the dipped balls into the fridge until they are solid.... (unless they are getting solid at room temperature... in which case you're good)
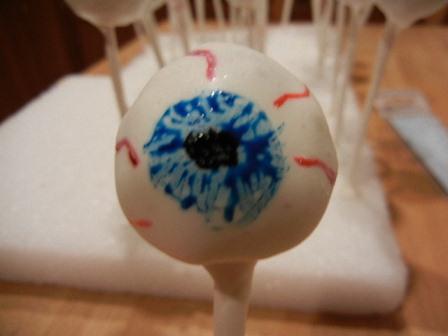
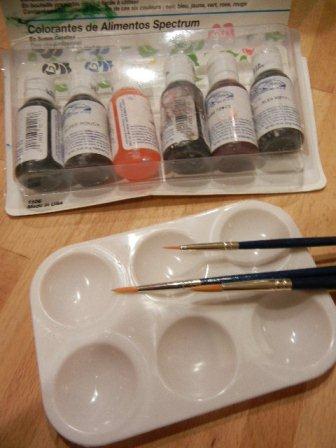
- Set up your paints... I have this little paint palate and I put a bit of the paste food coloring in each hole. Paste food coloring doesn't always look like what color it is until you paint it on... so you can make a mark, or just remember which is which). I tend to use blue or green for the eyes, then black for the iris, and red for the veins.... but there are no rules. You want your eyes to be jaundiced? add yellow.... some people have brown eyes... violet is pretty... or make red eyes. Totally up to you.
- You need clean paintbrushes. DON"T just go rooting through your kid's art box hoping to find one. I have brushes that go with my baking stuff and stay there! (under threat of serious yelling ... and that goes for my good sewing scissors too!)
- Now Paint.
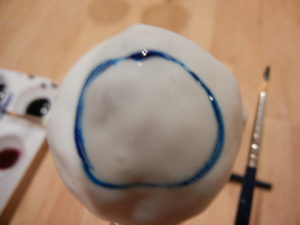
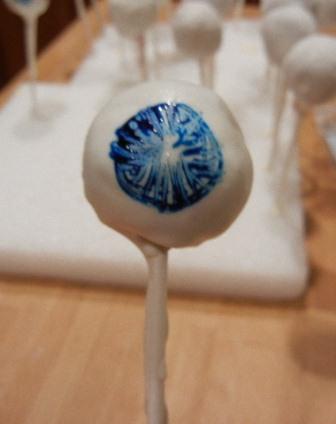
- I start out making a circle in the blue or green, then make lines in from the outside to the center... kind of looks like eyes that way.
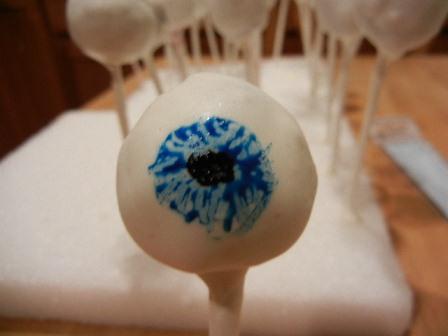
- A black dot goes in the center
- Then you can add icky red veins or blood.
- Stick it back in the foam as you finish
- Repeat.
- When they are dry, you can bag them in clear cellophane bags, and tie them off with black ribbon
Supplies for the Eyeball Cake Pop Recipe
You start with Red Velvet Cake, white frosting… and white candy melts.
For assembly, you need sticks, food color and a rack.
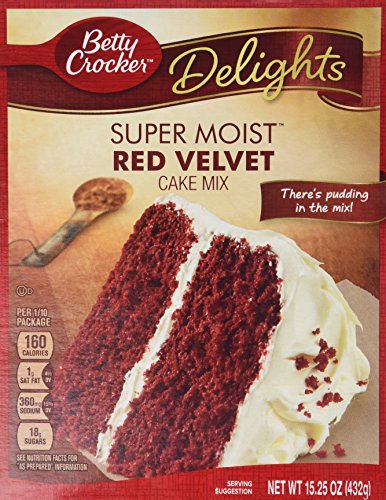
Betty Crocker Red Velvet Cake Mix 15.25oz per box (Pack of 2) Pillsbury Creamy Supreme Frosting Classic White
d
&
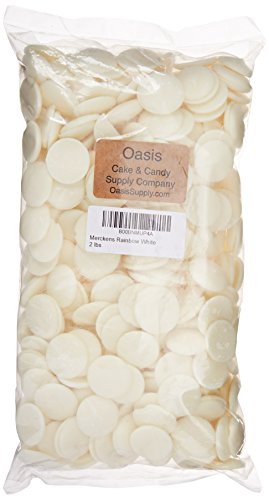
Merckens Ivory Chocolate, Rainbow White, 2 Pounds Wilton White Candy Melts, 12-Ounce
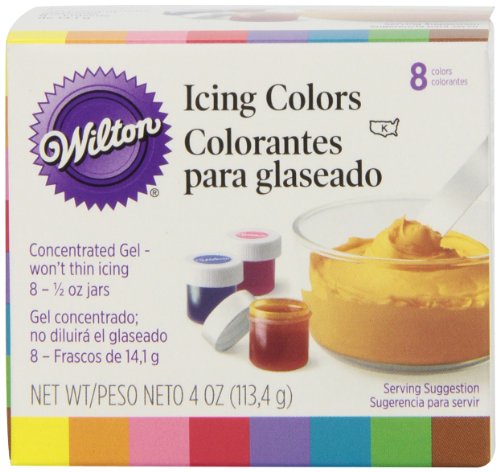
 Wilton Set of 8 Icing Colors
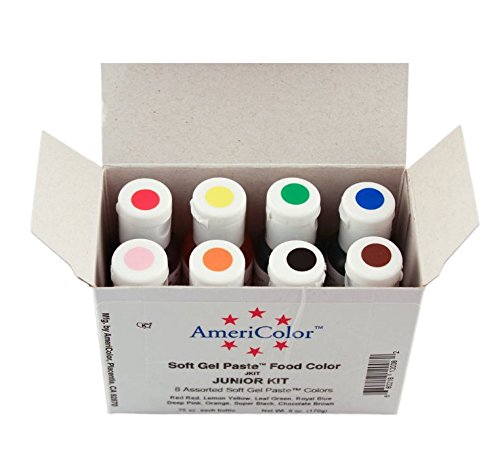
 AmeriColor Soft Gel Paste Food Color, Junior Kit-8 assorted colors,0.75 oz bottles
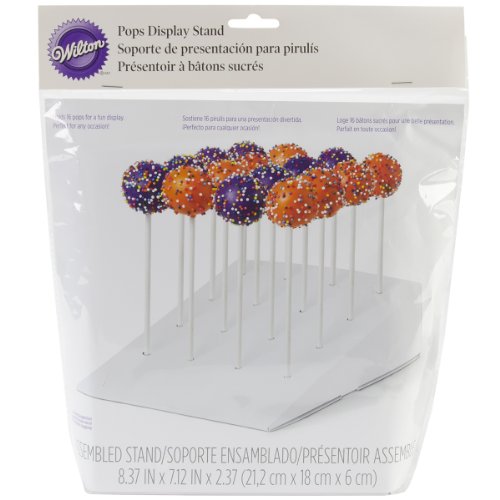
 Wilton 415-2264 Slanted Pops Stand
 Lollipop sticks 100 count 6 inch
&
How to Make this Eyeball Cake Pops Recipe for Halloween
Step by Step Instructions
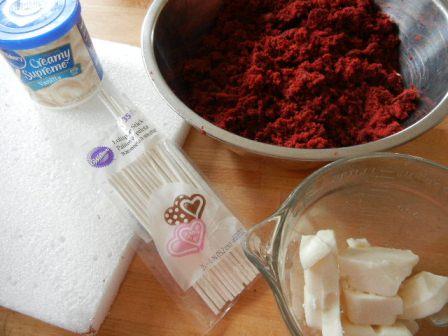
Assemble Your Supplies
Cake Crumbs, Frosting, Foam Board and Lollipop Sticks
Crumble the Cake into a bowl
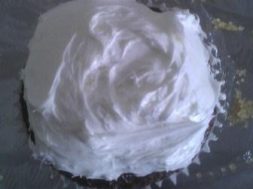
Mix the Frosting in with the Cake Crumbs
Moosh it all together with your hands… you want it sticky, but not so wet that it falls apart.
Roll a Bit of Cake Moosh into a Ball
About the size of a small ping pong ball
Put the Naked Cake Balls into the Fridge
on a foil or parchment covered pan
Melt the Vanilla Candy Melts
Stick the Lollipop Stick in the Candy, Stick it into a Cake Ball, then dip the cake ball into the melted candy.
Submerge completely… take your time.
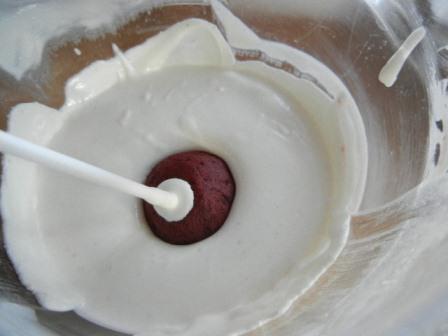
Stick the Dipped Cake Ball In the Foam Board
Let Set… in fridge if needed
Note, if you are like me, they won’t look smooth… that’s ok
more realistic…
Prepare Your Food Paste and Paint Brush
If You Don’t have a Palate… dab the food paste on some aluminum foil
Start by Painting a Circle
Paint from the Outside Circle in to the Middle
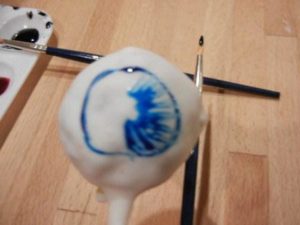
Paint all the Way Around the Circle
Add the Black Spot in the Middle
and some Creepy Red Veins
You Can Add A Few Extra Effects
Sutures, Mold…. the usual
My Daughter LOVES to Help with the Painting
Kids can help
Wrap them Up in a Cellophane Bag
Tied with a Ribbon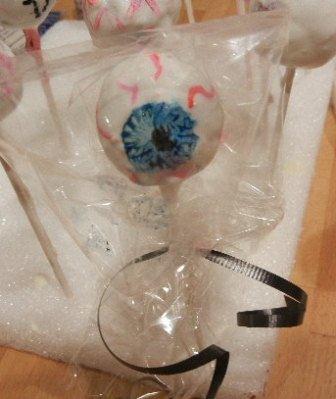
YUCK!!! Red Stuff inside the EYE BALL!!
Kids love the Gross Out Factor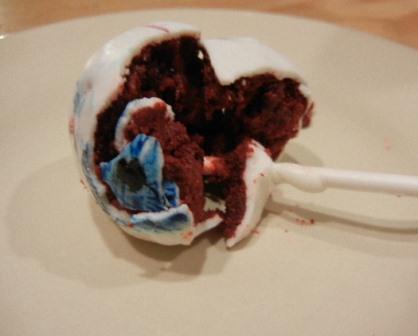
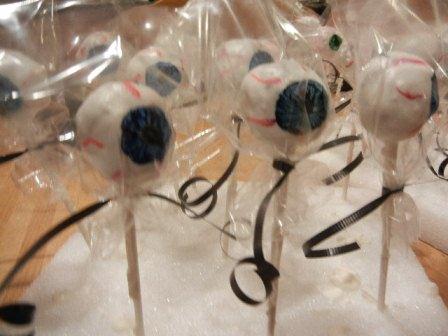
Cake Eye Balls Wrapped and Ready for the Halloween Party














Comment(1)