Cheesecake Pops
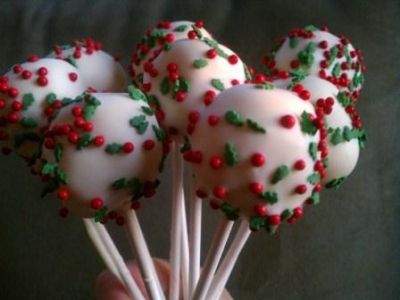 Cheesecake is yummy, but I seldom make it because a whole cake can be just too much. You know, everyone saying, “no no, I couldn’t”, so I end up eating it all…. then I gotta pop the top button on the jeans AND maybe unzip a little (or even lie down).
I do love those first few bites though. Mmmmmm So good. Creamy, rich, like Ice cream that isn’t frozen.
What’s the best way to get that hit of Cheesecake without overdoing?
It’s Cheesecake on a stick!
(And as we all know, everything is better when served on a stick…. especially when it’s covered with chocolate.)
These Cake Pops are a no-bake treat that is fun to serve, and delicious to eat.
Whip up a bunch of them for your next Holiday Gathering… or keep some on hand for those days when you just need a bite or two (or three or four) of Cheesecake.
Cheesecake Pops don’t require baking…so you can leave the oven off (You have to love a recipe that starts with…. buy a cheesecake). If you can melt chocolate, you can make these. In fact, I use that chocolate candy coating stuff for these, makes it super easy…just stick it in the microwave, it’s not fussy at all.
The only thing to be mindful of? Keep the cheesecake balls cold, frozen even, while you are working with them.
And don’t leave the finished pops out of the fridge for more than 4 hours…. they don’t like it.
Don’t feel like putting these on a stick… that’s ok too. Just let them rest on Waxed Paper…and serve in a cupcake paper.
I’ve detailed the steps below with photos… you can’t go wrong.
Cheesecake Pops Recipe
Serves: 24 pops
Prep Time: 1 hour… with cooling time
Ingredients
1 Baked Cheesecake
Candy Melts or Bark- Regular or White Chocolate
Sprinkles
Lollipop Sticks
ALSO
foam board for holding pops
pyrex cup for melting chocolate
melon baller or spoon
Instructions
Prepare your work space- Get out 2 pans or plates that will fit into the freezer, cover with waxed or parchment paper. One is ok, but since you will be working with half at a time, it’s easier to work with 2 pans.
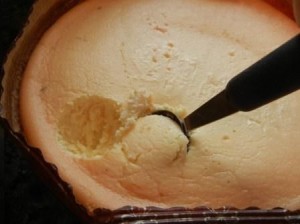
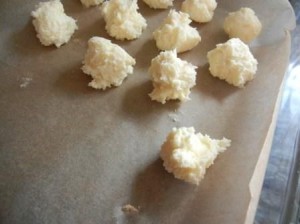
Take one Cheesecake…. (mine is Sara Lee, found in the frozen foods aisle of my local grocery store), and start scooping balls out of it with a melon baller or spoon. I like balls about 1 inch in diameter… but you can go bigger or smaller.
NOTE- the balls will not look super neat at this point… it’s fine, we’ll fix it in a minute.
Stick the pan in the freezer for 10 to 15 minutes (you can take this opportunity to wash your hands, read a magazine, and decide what you want to do with the naked cheesecake crust…..) (no, I haven’t had any flashes of creative inspiration, so I’m open to suggestion)
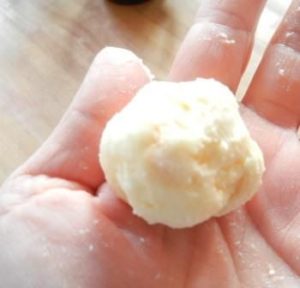
Haul the balls out of the freezer… Roll them between your palms to smooth them out a bit.
Stick them back in the freezer while you prepare the dipping area.
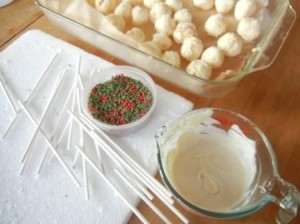
Get out the Sticks, foam board and sprinkles.
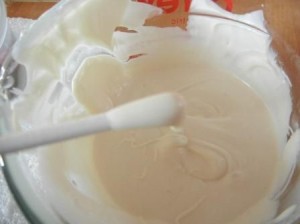
Melt the Chocolate Bark or Candy coating by putting about 1 cup of it into a pyrex or microwave safe cup, and turn it on for a minute or two. Stir until smooth and melted.
Take half of the Balls out of the Freezer…
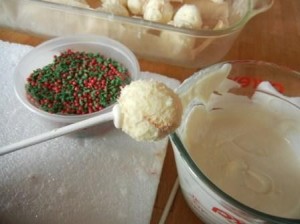
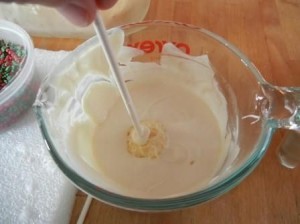
Dip the end of a lollipop stick into the melted chocolate, about 1/2 inch.
Immediately stick the chocolate coated stick into a cheesecake ball.
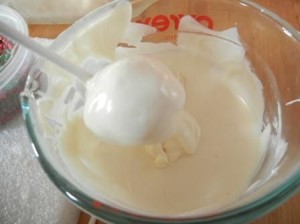
Plunge the ball into the melted chocolate, rotate until it’s completely submerged.
Lift out of the chocolate, and shake a bit to get the excess chocolate off.
Shaking also smooths the chocolate coating out a bit.
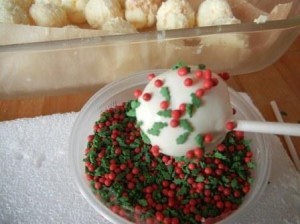
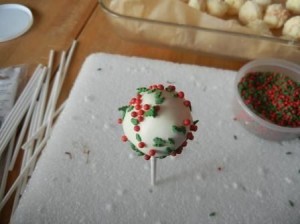
Holding the still wet ball over the sprinkles, sprinkle some onto the ball while rotating it.
Stick in foam board to set
Repeat
and again
and again
Now eat
or
Store the Cheesecake pops in the refrigerator, or in a cool dry space.
These can live happily on a buffet table for about 3 to 4 hours… in fact, they taste better (in my opinion) at room temperature. (Too long in the heat will cause some “melting”.)
Step By Step Instructions with Photos!
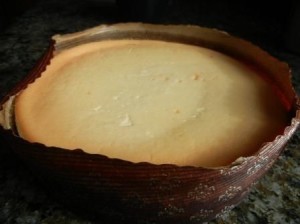
Start With a Cheesecake, any kind will do. I just grabbed a frozen Sara Lee New York Cheesecake out of the freezer section of my local grocery store… but you can use any cheesecake you like best. So…. if Aunt Edna left you a fantastic cheesecake recipe, and you have the time, energy and desire to make it… go right ahead.
Start Scooping Out Balls of Cheesecake, Use a Melon Baller…. or a Spoon
Put the Blob Shaped Balls of Cheesecake in a Pan Lined with Parchment Paper (Yes, Wax Paper is Fine… Just Make Sure Your Pan Fits in the Freezer. Do some frozen foods re-arranging BEFORE you start the project… saves juggling later.
Keep Digging out Blobs of CakeDon’t Dig Into the Crust….Freeze the Blobs So You Can Work With Them. Room Temperature Cheesecake is Mushy
Roll Frozen Blobs Between Your Palms to Smooth Them Out
Stick the Blobs into the Freezer for 20 minutes
Get Your Work Area Set
Melted Chocolate, Sticks, Sprinkles and a piece of Foam to hold the Cheesecake Balls
My Favorite Cake Pop Tool…Styrofoam
You need a place to stand your cake pops when you are working with them… and when you stick them in the fridge…. and when you serve them. Now, there are some nice special tools for this purpose… and if you want to look fancy and tiered while serving cake pops, by all means check those out.
But.. for Cheesecake Pop construction and setting, nothing beats a piece of Styrofoam. It’s light, you can jam a stick in anywhere, and when it gets a little grotty looking from drips…. you can get a new one.
Dip the Stick into the Melted Chocolate…About half an inch
Stick a Frozen Blob of Cheesecake on the dipped Stick (Do this while the Chocolate is still soft on the stick)
Carefully Dip the Cheesecake Ball into the Melted Chocolate…Tip it Back and Forth to Cover Completely
Shake off the Excess Chocolate (Don’t go nuts… just a couple of shakes)
Shaking will also smooth the chocolate out a bit. Too much shaking will cause the Cheesecake Ball to fly across the room. Funny… but someone will have to clean that up.
While the Chocolate is Still Wet… Sprinkle on the Sprinkles…If you sprinkle over a cup of sprinkles… the excess will fall back in the cup.
Stick the Cheesecake Pop into the Foam Board to Set
Ta Da!


Comment(2)