Raspberry Lemon Curd Tart Recipe- Sweet, Tart and Cool on a Warm Day!

 Fresh Raspberries were on sale in our grocery store this week…Wahoo!!! That means I can make my Raspberry Lemon Curd Tart Recipe!
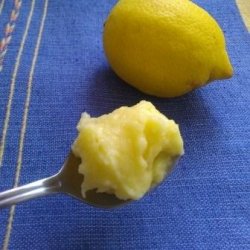
You can go buy a jar of Lemon Curd (why? Lemon Curd is so easy to make, and it’s a great recipe to have in your back pocket). Click here for the recipe–>Lemon Curd
This delicious Raspberry Lemon Curd Tart Recipe is made with a cookie crust that comes together easily in a food processor… and I’ve included a technique for minimal counter clean-up. Once it’s baked, and cooled, you just spread in the lemon curd. Finish the tart by tossing the Fresh Raspberries with some seedless Raspberry jam that’s been warmed up a bit… this sweetens the berries, and makes them look shiny.
It’s the perfect dessert for a warm summer day…. fresh, fruity, a little tart… so good.
Raspberry Lemon Curd Tart Recipe
Raspberry Lemon Curd Tart Recipe

Ingredients
- 1/2 cup Powdered Sugar
- 1 1/4 cup Unbleached Flour
- 1/2 cup cold Butter
- 1 Egg Yolk
- 1 Tsp Vanilla
- around 1 pound of Fresh Raspberries
- 1/2 cup seedless Raspberry Jam
- 2 TBL Water
- Lemon Curd
Instructions
- In the Bowl of a Food Processor... pulse/process the flour and powdered sugar for a minute.
- Cut the butter into pieces (approximately a tablespoon sized, but that's not super important... just make sure it's cold)
- Add the butter pieces one at a time down the feeding tube of the processor... pulse, process all the while. When there are no butter lumps showing in the flour mixture...
- Add the egg yolk and vanilla.
- Pulse the processor until the dough comes together in a sort of ball shape (it won't be a perfect sphere... it will pull together and roll around a bit away from the sides)
- Lay a sheet of plastic wrap on the counter.... put the dough in the middle of it... pat the dough to a disk shape... wrap in the plastic... put in the refrigerator for 30 minutes.
- NOTE*** at this point you can store the dough in the refrigerator for a week... double wrap it with plastic wrap. You will have to let it sit on the counter for 20-30 minutes to come back to rolling temperature.
- While the dough is chilling... you can make the filling... or go get a coffee.... or fold a load of laundry.... or go figure out who is making that THUMPING noise upstairs...
- All chilled out? Poke the wrapped dough.. it should give a little (somewhere between a baby's backside and a body builder's behind) (grin)
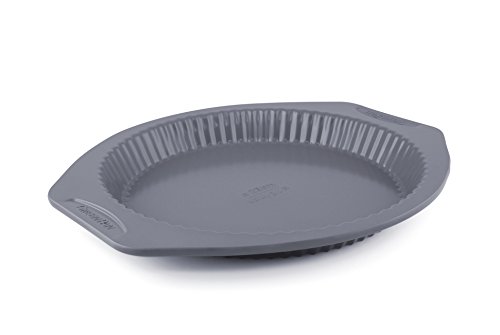
- Got your Tart pan with the removable bottom? (I use a round one, but they have some groovy rectangular ones.. if you make one in a shape other than circular, be sure to send me a photo).
- Preheat your oven to 350 degrees Fahrenheit
- Unwrap the disk, just leave the plastic wrap under it.... cover it with another piece of wrap... then roll it flat.
- You want to roll it out to around 13 inches... start from the middle and roll out.... rotate the dough from time to time... lift the plastic up off of it from time to time (so the dough shifts better)
- Ok... now take the top plastic off, and using the bottom plastic to help you move the dough... lay it into the tart pan.
- Tuck it into the corners.... patch the edges.
- To even out the edges, roll your rolling pin over the top of the tart pan.... this will cut off the extra.
- Poke the bottom of the crust with a fork.
- Tuck a piece of parchment paper over the dough in the pan... and fill the parchment with pie weights or dried beans (I know it seems obvious, but please don't use canned beans... the cans might explode in the oven).
- Bake around 15 minutes
- Take out of the oven... pull off the parchment and weights...
- And back in the oven for 15 more minutes.
- Let it cool on a rack.
- SOME ASSEMBLY REQUIRED
- Warm up the Seedless Raspberry jam and water in a saucepan... stir/whisk until it is smooth.
- Let it cool for 5 minutes...
- In a medium bowl, combine the clean (and dry) Raspberries with the Jam. Toss with a spatula until covered.. this gives the Raspberries a nice glaze.
- Fill the Tart Crust with around 1/2 cup of Filling (lemon or white chocolate)
- Cover the filling with the Glazed Raspberries....
- Done
- Serve as is, or gild the lily by whipping up some fresh whipped cream.
- Enjoy
Looking for Tart Pans?
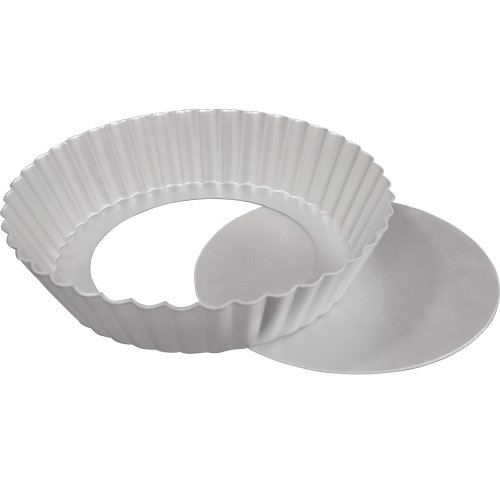
Fat Daddio’s Fluted Tart Pan 10 Inch x 2 Inch Removable Bottom Jamie Oliver Tart Pie Tin, 10 Inches, Nonstick
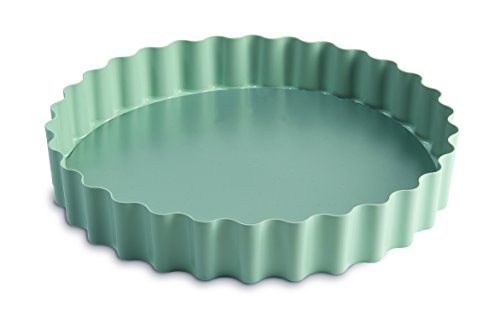
 GreenPan 10 Inch Carbon Steel Non-Stick Ceramic Tart Pan
&
 Lemon Curd Recipe
Easy Homemade Lemon Curd
I got this recipe from that fancy gourmet cookery book…. Better Homes and Gardens new Cook Book (yup… the one with the red and white checked cover). It’s simple, and works every time. I added more lemon zest, because I love a tart lemon curd, but you can back it up a bit. Also, BH&G says margarine… but… I bake with butter…
The tart only calls for 1/2 cup of filling, but you can add a bit more… or you can use the rest of the lemon curd for whatever you like lemon curd in/on. It will keep a week in the fridge… just keep it wrapped up so the dreaded LEMON CURD SKIN doesn’t grow… (ewww)
Makes 1 generous cup
Prep Time: 20 minutes
Total Time: 1 hour (with cooling)
Ingredients
1/3 cup Granulated Sugar
2 tsp Cornstarch
2 TBL fresh Lemon Zest (don’t get that dried stuff)
1/4 cup Lemon Juice
1/4 cup Butter
2 Eggs
Instructions
(I can get a bit lazy about this, but in the case of Lemon Curd, it’s a good idea to have all your ingredients and tools ready to go… you have to be a bit quick, so there’s no time to go looking for things.)
Whisk the eggs in a medium bowl… set aside.
Get out the bowl you want to store the curd in… set aside.
Get out a medium saucepan, turn it on to medium heat… add in the sugar, cornstarch, lemon zest and lemon juice… whisk until it’s all dissolved together.
Add the butter… whisk until it’s melted.
Now… this is the sort of tricky part, but you will be fine….. SLOWLY drizzle HALF of the lemon stuff into the eggs WHISKING LIKE CRAZY THE WHOLE TIME. If you dump, or fail to whisk, you will have lemony scrambled eggs…. which is actually more disgusting than it sounds.
When the mixture is all mixed… scrape it into the saucepan with the remaining lemon stuff.
Cook, stirring all the while, for 2 more minutes. It will be getting thick now, and if you run a spoon or the whisk across the curd, it will leave a line.
Pour the thickened Lemon Curd into the bowl you want to keep it in.
Cover the warm curd with a piece of waxed paper… press down to make kind of a seal, otherwise you’ll get skin….
Stick in the fridge until it’s cool… should take around 45 minutes.
Enjoy


